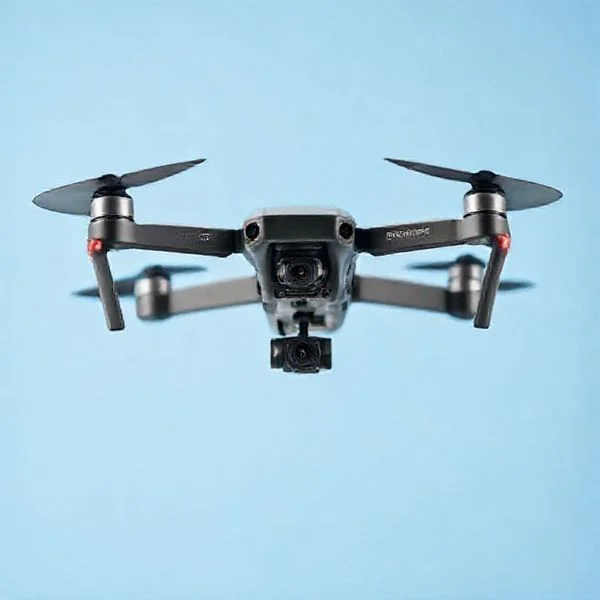
Looking to capture breathtaking aerial shots with your drone? In this article, I will share the best settings for drone photography that will help you take your aerial photography skills to new heights. Whether you’re a beginner, enthusiast, or professional, finding the right settings for your drone can make a world of difference in the quality of your photos. From the optimal ISO and shutter speed to the perfect white balance, I’ll guide you through the essential settings that will enhance your drone photography and allow you to capture stunning images from above. Get ready to elevate your drone photography game and take your shots to new heights with these expert-recommended settings.
Best Settings for Drone Photography
In the ever-evolving world of photography, drone photography has taken off as a popular and exciting niche. Capturing stunning aerial shots and videos has never been easier, thanks to the advanced technology and capabilities of drones. However, to achieve the best results, it is crucial to understand and optimize the settings on your drone. In this article, I will guide you through the best settings for drone photography, whether you are a beginner, enthusiast, or professional.
Prime for Young Adults — 6 Months Free
Exclusive Offer Amazon Prime for Young Adults, Students and 18–24s get six months of Prime free, then half price.
Start 6 Months Free As an Amazon Associate I earn from qualifying purchases.
Why are the Best Settings Important?
Understanding and using the best settings for drone photography can make a significant difference in the quality and outcome of your aerial photos and videos. Each setting, from exposure to resolution, ISO to shutter speed, plays a crucial role in capturing clear, vibrant, and well-balanced shots. By using the right settings, you can enhance the sharpness, color accuracy, and overall visual appeal of your images.
Beginner Settings
For beginners, diving into the world of drone photography can be overwhelming. The technical aspects and jargon may seem intimidating at first. However, by starting with some basic settings, you can capture impressive shots right from the beginning.
-
Auto Mode: Most drones have an auto mode that takes care of the settings automatically. This mode is perfect for beginners as it allows you to focus on composition and framing without worrying too much about technical details.
-
Lower ISO: ISO determines the sensitivity of your drone’s camera sensor to light. In well-lit conditions, it is recommended to keep the ISO as low as possible, usually around 100-200. This helps reduce noise and maintain image quality.
-
Shutter Speed: The shutter speed determines the amount of time the camera sensor is exposed to light. As a general guideline, keep the shutter speed twice the frame rate to avoid motion blur. For example, if you are recording at 30 frames per second, set the shutter speed to 1/60.
-
Metering Mode: Metering refers to how your drone measures the light in a scene. For beginners, the evaluative or matrix metering mode is a good choice. It takes an average reading of the entire frame and calculates the exposure accordingly.
Enthusiast Settings
Enthusiasts who want to take their drone photography to the next level can experiment with more advanced settings and techniques. These settings provide greater control and flexibility, allowing you to unleash your creativity and capture breathtaking shots.
-
Manual Mode: Switching to manual mode gives you full control over all settings, including aperture, ISO, and shutter speed. This mode offers the most flexibility, enabling you to tailor the settings to suit specific lighting conditions and creative preferences.
-
Aperture: The aperture controls the depth of field, determining how much of the scene is in focus. A wider aperture, represented by a lower f-number (e.g., f/2.8), creates a shallow depth of field, blurring the background and highlighting the subject. A smaller aperture, represented by a higher f-number (e.g., f/11), increases the depth of field, keeping more of the scene in focus.
-
Custom White Balance: By setting a custom white balance, you can accurately capture colors in different lighting conditions. For example, if you are shooting during sunrise or sunset, adjusting the white balance to a warmer tone can enhance the golden hues.
-
RAW Format: Shooting in RAW format captures all the data the drone’s sensor collects, giving you more flexibility during post-processing. RAW files contain more details and allow for better adjustments to exposure, contrast, and color.
Professional Settings
For professionals, the aim is to push the boundaries of drone photography and achieve the highest level of precision and quality. By utilizing specialized equipment and advanced techniques, professionals can capture stunning aerial imagery for various industries and applications.
-
ND Filters: Neutral density (ND) filters are essential for professionals as they help control the amount of light entering the camera. These filters reduce the harshness of bright areas and allow for longer exposure times, creating smooth and cinematic shots.
-
Hyperlapse Mode: Many drones offer a hyperlapse mode that enables professionals to capture time-lapse videos with dynamic camera movement. By combining precise flight paths with controlled settings, hyperlapses can create captivating sequences that showcase the passage of time.
-
Focus Stacking: Focus stacking is a technique used to achieve an extended depth of field. By capturing multiple images at different focus points and merging them in post-processing, professionals can create images with incredible sharpness and detail throughout the entire frame.
-
Professional Software: To take full advantage of the drone’s capabilities, professionals often use advanced editing and stitching software. These tools allow for seamless panoramas, 3D modeling, and post-processing techniques that can enhance the overall quality and impact of the final imagery.
Conclusion
Whether you are a beginner exploring the world of drone photography or a professional pushing the boundaries of aerial imagery, understanding and optimizing the settings of your drone is crucial for capturing stunning photos and videos. By following the recommended settings outlined in this article, you can take full advantage of your drone’s capabilities and unleash your creative potential. Experiment with different settings, practice, and don’t forget to have fun along the way. The sky’s the limit!
Call to Action
I hope this article has provided you with valuable insights into the best settings for drone photography. Now, it’s time for you to take your drone out for a spin and put these settings into practice. Don’t forget to share your stunning aerial shots with us in the comments below. And for more articles and tips on drones, be sure to check out our other content. Happy flying!
Prime for Young Adults — 6 Months Free
Exclusive Offer Amazon Prime for Young Adults, Students and 18–24s get six months of Prime free, then half price.
Start 6 Months Free As an Amazon Associate I earn from qualifying purchases.