How to Program Drone Flight Paths: Apps, SDKs, & Code
Commercial UAV Pilot & Aerial Cinematography Specialist at Drone Nestle · FAA Part 107 Remote Pilot Certification, Commercial UAS Operations · 10+ Years in Commercial UAV Operations, Flight Hardware Benchmarking & 4K Aerial Cinematography
Automated flight paths are created by defining GPS waypoints, altitude, and velocity using either GUI-based mission planners or developer SDKs like MAVLink and Python. While consumer-grade apps like Litchi provide easy no-code interfaces, developers utilize onboard SDKs to program complex, autonomous maneuvers.
🎯 Key Takeaways
- Choose GUI-based apps for photography or Python SDKs for custom autonomous applications.
- Always verify GPS lock and establish a clear Return-to-Home point before launching.
- Use MAVLink protocol for open-source controllers like Pixhawk or ArduPilot-based systems.
- Define precise waypoints including latitude, longitude, and specific gimbal pitch actions.
- Test programmed missions in a simulated environment before executing real-world hardware flights.
To program a drone flight path, you must feed a series of GPS waypoints—specific latitude, longitude, and altitude coordinates—into the flight controller using either a graphical interface or a software development kit (SDK). This process replaces manual stick inputs with automated commands, allowing the drone to follow a precise trajectory while executing specific actions like camera triggers or gimbal tilts at predetermined locations. By defining these parameters, you ensure that every flight is repeatable, accurate, and capable of capturing data or footage that is impossible to achieve through human piloting alone.


Automating your flight path is the foundation for professional drone work, including 3D mapping, infrastructure inspection, and cinematic “waypoint” sequences. It removes the risk of pilot error and allows you to focus on the data being collected rather than the mechanics of flight. Whether you are using a “no-code” mobile app to drag points on a map or writing Python scripts to interact with the MAVLink protocol, mastering flight path programming turns a remote-controlled toy into a sophisticated autonomous robot.
Top Mission Planning Software and Programming Environments


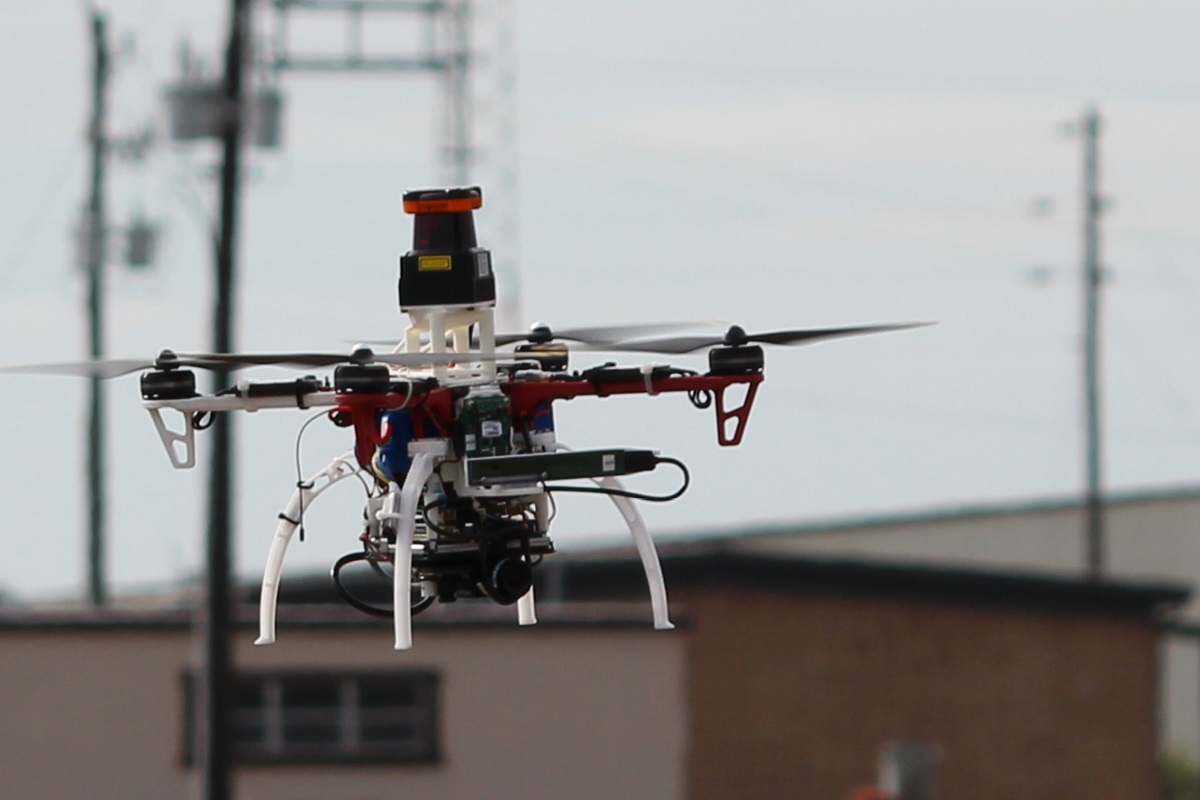
The software you choose acts as the bridge between your mission goals and the drone’s hardware. For most users, this involves a Ground Control Station (GCS) that visualizes the flight area using satellite imagery. These platforms allow you to set the “mission geometry,” which includes the entry point, the path between nodes, and the fail-safe behavior if the connection drops. The choice of environment depends heavily on your drone’s firmware—typically either proprietary systems like DJI or open-source stacks like ArduPilot and PX4.


Professional Mission Planners (GUI-Based)
If you prefer a visual workflow, several industry-standard tools allow for rapid path generation without writing a single line of code. These tools are essential for surveyors and photographers who need to define complex patterns like grids or orbits quickly.
- Litchi: A favorite for DJI users, Litchi allows you to program waypoints on a web browser before you even arrive at the site. You can set the drone’s “Heading Mode” to focus on a Point of Interest (POI) while it travels along the path.
- QGroundControl: The go-to interface for MAVLink-based drones (PX4/ArduPilot). It excels at “Survey” missions where you define a polygon, and the software automatically calculates the optimal “lawnmower” path for 100% area coverage.
- DJI Pilot 2: Built into many enterprise controllers, this software supports “Live Mission Recording,” where you fly the path once manually, and the software saves every coordinate and gimbal angle to repeat autonomously later.
Developer-Focused SDKs and Libraries


For those building custom applications or needing dynamic pathing—where the drone changes course based on real-time sensor data—programming libraries are required. These allow you to send low-level “setpoints” to the flight controller.


- DJI SDK (Mobile/Payload/Onboard): Allows developers to tap into DJI’s flight bridge. You can write commands in Java, Swift, or C++ to control the drone’s flight path via a connected mobile device or an onboard computer.
- DroneKit-Python: An open-source library that makes it easy to write scripts to control ArduPilot drones. It is perfect for beginners in drone coding because it uses simple Python syntax to command vehicle.simple_goto(location).
- MAVSDK: A modern set of libraries for various programming languages (Python, C++, Swift, JS) that interfaces with the MAVLink protocol. It is highly recommended for developers working with the PX4 flight stack.
Master Drone Flight Path Programming in 8 Simple Steps
Programming a drone flight path is the bridge between manual RC piloting and true aerial robotics. Whether you are aiming to capture professional-grade 3D maps, perform agricultural surveys, or execute a complex cinematic sequence, automation ensures repeatability and precision that human hands simply cannot match. This guide covers the end-to-end process of mission planning, from selecting the right Ground Control Station (GCS) software to executing a safe, autonomous flight. By following these steps, you will transform your drone from a remote-controlled toy into a sophisticated data-collection tool, ensuring that every waypoint is hit with centimeter-level accuracy while maintaining the highest safety standards.
Step 1: Selecting Your Software Ecosystem
What you need: A laptop or tablet, a drone with a compatible flight controller (Pixhawk, DJI, or ArduPilot-based), and internet access.
Instructions: Before you can program a path, you must choose a Ground Control Station (GCS) that communicates with your drone’s firmware. For open-source enthusiasts using ArduPilot or PX4, Mission Planner or QGroundControl are the industry standards. If you are using a DJI enterprise drone, DJI Pilot 2 or 3rd-party apps like Litchi or DroneDeploy are preferred. Install the software and connect your drone via USB or telemetry radio to ensure the firmware is recognized. This step is critical because the software dictates the “language” of your waypoints and the specific telemetry protocols (like MAVLink) used during the mission.
Pro Tip: Stick to QGroundControl if you need a cross-platform interface that works seamlessly on both mobile tablets and desktop computers, as it offers a more touch-friendly UI for field adjustments.
Step 2: Calibrating Hardware and Establishing GPS Lock
What you need: Fully charged flight batteries, a calibrated compass, and an open outdoor space.
Instructions: Programming is useless if the drone doesn’t know its orientation. Power on your drone and perform a compass “dance” (calibration) to negate any local electromagnetic interference. Open your GCS software and monitor the GPS status. For autonomous flight, you should have a minimum of 10–12 satellites and an HDOP (Horizontal Dilution of Precision) of less than 2.0. If the HDOP is high, your drone might drift off the programmed path by several meters. Ensure your “Home Point” is set automatically at the takeoff location; this is the safety coordinate the drone will return to if the mission fails or the battery runs low.
Pro Tip: Avoid calibrating your compass near large metal structures, reinforced concrete, or underground power lines, as these will induce “magnetic variance” errors that can crash the drone during waypoint transitions.
Step 3: Defining the Mission Area and Waypoints
What you need: GCS software with offline maps downloaded and a clear understanding of the terrain.
Instructions: In the “Plan” or “Mission” view of your software, use the map interface to drop your first waypoint. Each waypoint consists of a Latitude, Longitude, and Altitude. For a simple path, click points in a sequence. For survey missions, use a “Polygon” tool to highlight an area; the software will automatically generate a “lawnmower” pattern (transects) to cover the ground efficiently. Ensure you set the “Path Mode” to either “Linear” (stopping at each point) or “Spline” (curved transitions). Spline paths are much better for cinematography as they prevent jerky movements between waypoints, resulting in smoother video footage.
Pro Tip: Always set your first waypoint to be a “Takeoff” command with a specific altitude (e.g., 20 meters) to ensure the drone climbs vertically before moving laterally toward the mission area.
Step 4: Configuring Altitude and Velocity Parameters
What you need: Local aeronautical charts or a digital surface map to check for obstacles.
Instructions: Altitude is the most vital variable in your program. Set a “Global Altitude” that is at least 15–20 meters above the tallest obstacle in the vicinity (trees, cell towers, or buildings). If you are flying in hilly terrain, enable “Terrain Following” if your GCS supports it, which uses SRTM data to adjust altitude relative to the ground. Next, set your cruising speed. For mapping, 5–8 meters per second (m/s) is ideal to prevent motion blur. For transit between distant points, you can increase this to 12 m/s, but be mindful that higher speeds drain the battery significantly faster due to wind resistance.
Pro Tip: In the “Return to Launch” (RTL) settings, ensure the RTL altitude is set higher than your mission altitude to prevent the drone from hitting an obstacle while heading home.
Step 5: Implementing Logic and Camera Triggers
What you need: A gimbal-mounted camera and a compatible payload controller.
Instructions: A flight path is often just a delivery mechanism for a sensor. You must program “Actions” at specific waypoints. For photogrammetry, use the “Survey” or “Grid” command to set a “Trigger Distance” (e.g., take a photo every 10 meters). This ensures consistent “Frontlap” and “Sidelap” (usually 70-80%). If you are filming, program a “ROI” (Region of Interest) at a specific coordinate. This instructs the drone’s gimbal to stay locked on a building or landmark regardless of where the drone is flying in its path. This “Yaw” automation allows for complex parallax shots that are nearly impossible to fly manually.
Pro Tip: Set a “Servo” or “Camera” command to “Start Recording” at Waypoint 1 and “Stop Recording” at the final waypoint to ensure you don’t waste storage space during takeoff and landing.
Step 6: Running a SITL (Software In The Loop) Simulation
What you need: A laptop with the GCS software and a simulation environment (like ArduPilot SITL or Gazebo).
Instructions: Never upload a mission to a physical drone without simulating it first. Most professional GCS tools allow you to run a “Virtual Drone” on the map. Click “Start Simulation” and watch the virtual icon traverse the path you programmed. Check for “Path Sanity”: Does the drone take a weird shortcut through a restricted zone? Is the battery estimated to run out before the last waypoint? The simulator will give you a calculated flight time. If the estimated time is 18 minutes and your drone’s real-world endurance is 22 minutes, your mission is within the safe “20% buffer” margin. Adjust your waypoints now to avoid a mid-air emergency later.
Pro Tip: Look for “Gimbal Pitch” errors in the simulation; sometimes the programmed pitch angle is physically impossible for the hardware, which can cause the flight controller to throw an error code.
Step 7: Uploading the Mission and Pre-Flight Checks
What you need: A telemetry data link (USB, WiFi, or 915MHz radio) and the physical drone.
Instructions: With the drone powered on and the GCS connected, click “Upload” or “Write” to send the mission commands to the drone’s onboard EEPROM. Once uploaded, click “Read” to verify that the coordinates stored on the drone match what is on your screen. Conduct a final “Pre-Arm” check: ensure the SD card has enough space, the battery voltage is at 4.2V per cell, and the Fail-safe is set to “Return to Home” on “Radio Loss.” Ensure you are in a legal flight zone (check AirMap or B4UFLY) and that you have visual line of sight (VLOS) of the entire programmed path.
Pro Tip: Always keep your finger near the “Flight Mode” switch on your remote controller. If the drone behaves unexpectedly during the mission, switching to “Manual” or “Loiter” mode will immediately override the program and give you control.
Step 8: Execution and Real-Time Monitoring
What you need: Remote Controller (RC), GCS tablet, and a landing pad.
Instructions: Arm the motors and toggle the switch to “Auto” or “Mission” mode. The drone will execute its takeoff command and proceed to Waypoint 1. During flight, do not just watch the drone; monitor the telemetry data on your screen. Keep an eye on the “Distance to Home” and “Battery Voltage.” If you see the voltage sag below 3.5V per cell (for LiPo batteries), or if the wind speed exceeds 10 m/s, be prepared to abort the mission. Once the drone reaches the final waypoint, it will typically execute an “RTL” or a “Land” command. Ensure the landing area is clear of spectators and debris before the drone touches down.
Pro Tip: If the drone enters a “Circular Fail-safe” (circling a point because it lost GPS precision), do not panic. Switch to “Altitude Hold” to stabilize it and fly it back manually using visual cues.
✅ Final Checklist
- Verify that the Home Point is set correctly at the takeoff location with a 10+ satellite lock.
- Confirm that the mission altitude is higher than any local obstacles by at least 15 meters.
- Check that the “Action” triggers (camera shutter/video start) are programmed at the correct waypoints.
- Ensure the radio fail-safe is set to “Return to Launch” (RTL) rather than “Land” or “Continue.”
- Verify that the estimated flight time leaves at least a 20% battery reserve upon landing.
Important Notes:
- Safety First: Never program a flight path that takes the drone out of your Visual Line of Sight (VLOS) unless you have a specific BVLOS waiver from your civil aviation authority (like the FAA in the US).
- Professional Help: For high-stakes industrial inspections or long-range missions, consider hiring a certified Part 107 pilot or using enterprise-grade RTK (Real-Time Kinematic) systems for centimeter-level precision.
- Estimated Time and Cost: Setting up a basic mission takes 30–60 minutes. Software costs range from free (Mission Planner) to $1,500+/year for professional photogrammetry suites like Pix4D or DroneDeploy.
Key Differences Between No-Code Apps and Developer SDKs


Choosing between a pre-built app and a custom SDK depends on your need for flexibility versus speed. No-code applications are designed for reliability and safety, often including built-in “geo-fencing” and terrain-following features that prevent you from programming a path directly into a hillside. However, they are limited by the features the developer decided to include. If the app doesn’t have a “zig-zag” pattern, you can’t easily add one.
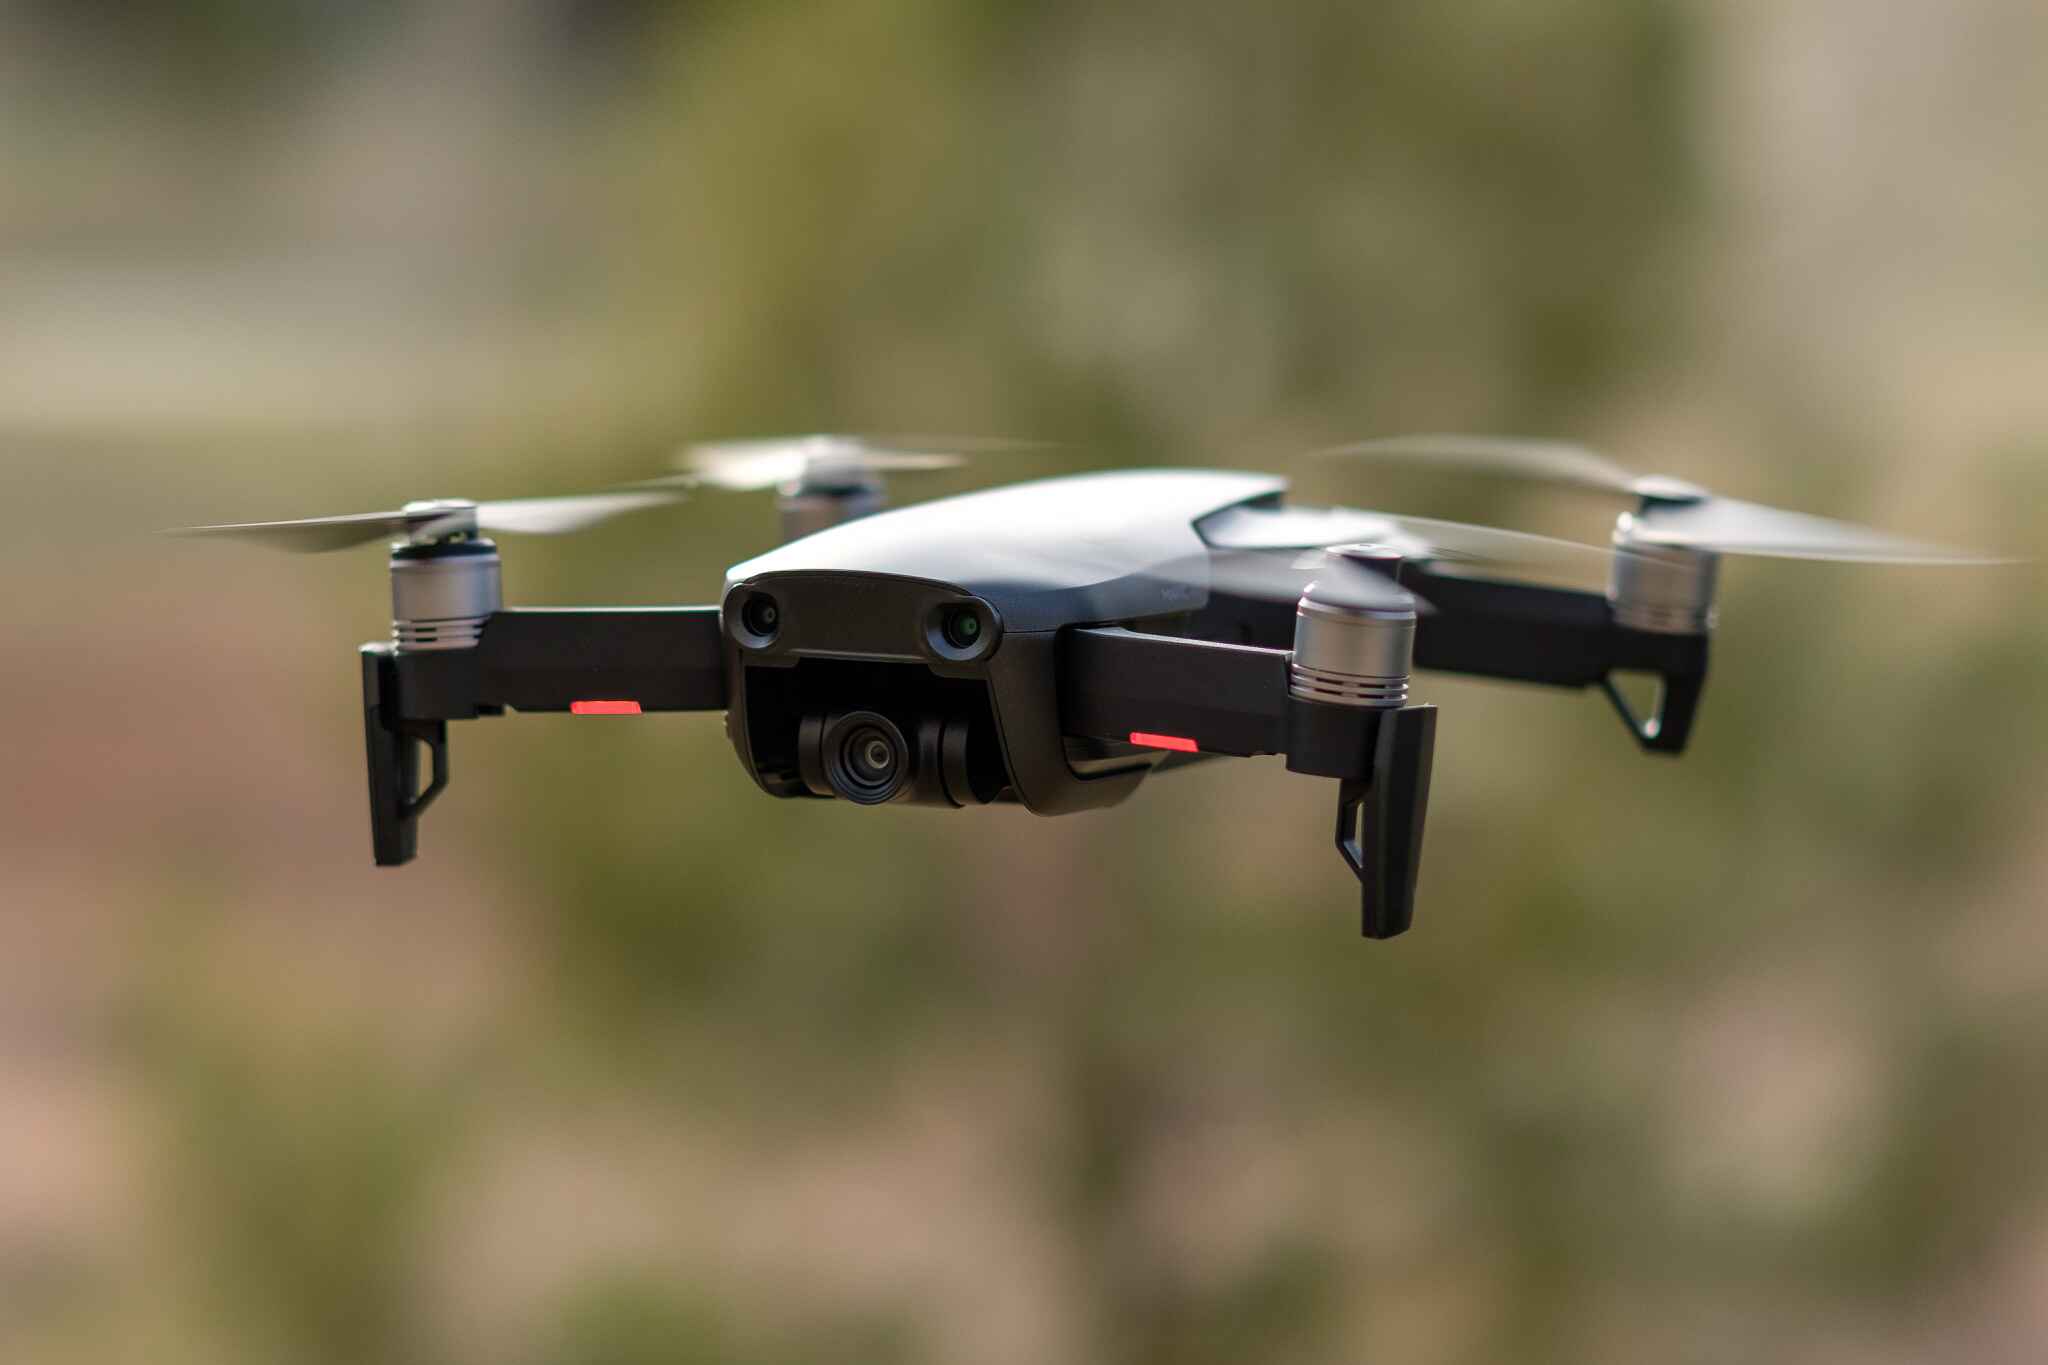
The “No-Code” Workflow for Photographers and Surveyors


In a GUI-based app, the workflow is linear and visual. You typically start by importing a KML file or drawing a perimeter on a map. The software then asks for your desired “Ground Sampling Distance” (GSD) or altitude. It automatically calculates the overlap needed for photos. The primary parameters you adjust include:


- Waypoint Radius: How close the drone must get to the coordinate before moving to the next one (smoother turns vs. precise stops).
- Cruising Speed: Usually measured in meters per second (m/s), ensuring the drone doesn’t move faster than the camera can write data to the SD card.
- Gimbal Pitch: Programming the camera to look straight down (nadir) for mapping or at the horizon for scenic paths.
The Programmatic Approach for Developers
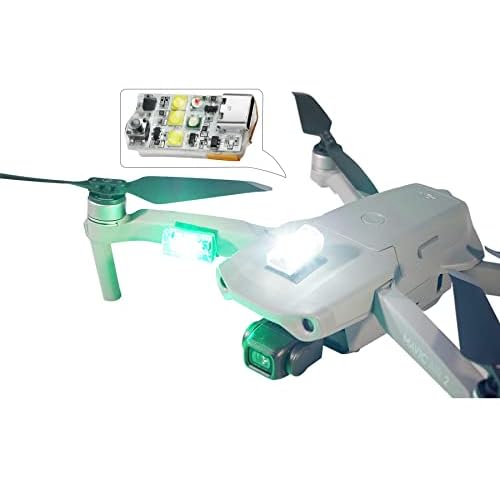


When you use an SDK like MAVSDK or DroneKit, you aren’t just placing dots on a map; you are managing the state of the aircraft. Programming a path via code allows for “conditional logic.” For example, you can program the drone to “fly to waypoint B, but if the battery drops below 30%, skip to the landing sequence.” This level of control is vital for delivery drones or autonomous security patrols.
Coding a flight path also enables “Dynamic Waypoint Injection.” Instead of a static path, your code can calculate new coordinates on the fly. This is how drones are programmed to follow a moving target or navigate through a forest using obstacle avoidance sensors. You aren’t just telling the drone where to go; you are telling it how to think about the journey, using loops and variables to define the mission parameters in real-time.
Programming a path with code usually involves setting a “Global Position” (latitude/longitude) or a “Local Position” (meters away from the takeoff point). Using local coordinates is often easier for small-scale testing or indoor flight where GPS signals might be weak, whereas global coordinates are the standard for outdoor long-distance missions.
Essential Hardware and Accessory Requirements for Autonomous Flight


Programming a flight path is only half the battle; your hardware must be capable of executing those commands with surgical precision. While many consumer drones have built-in GPS, professional-grade autonomous missions often require specialized accessories to ensure the drone doesn’t drift off course during a programmed sequence. Accuracy is the difference between a successful data set and a crashed aircraft.
High-Precision Positioning with RTK Modules
For tasks like 3D mapping or industrial inspections, standard GPS often isn’t enough. This is where Real-Time Kinematic (RTK) modules come into play. These accessories provide centimeter-level accuracy by correcting satellite data in real-time using a fixed ground station. If you are programming a path that requires the drone to fly within a few feet of a structure, an RTK-enabled drone or an add-on module is a non-negotiable accessory.


- RTK Base Stations: These provide a fixed reference point to improve positioning data for the drone during its mission.
- External GNSS Antennas: Useful for maintaining a strong signal in “urban canyons” or areas with heavy electromagnetic interference.
- High-Speed MicroSD Cards: Essential for logging the massive amounts of telemetry and image data generated during autonomous flights without buffering.
The Ground Control Station (GCS) Setup
Your “ground station” is the hub where your programmed code meets the physical world. For most users, this is a combination of a remote controller and a mobile device. A high-brightness tablet is a critical accessory here, as sunlight glare can prevent you from monitoring critical mission telemetry. Additionally, long-range signal boosters or parabolic reflectors can help maintain a stable link between your programming interface and the drone, especially during complex waypoint missions in rural areas.
Safety Protocols and Regulatory Compliance for Programmed Missions


Just because a drone is flying itself doesn’t mean the pilot is off the hook. In fact, programmed missions require a higher level of oversight because the drone is following a digital script that may not account for sudden environmental changes, such as a bird strike or a sudden change in wind speed. Safety should be written into your mission plan before the propellers even spin.
Implementing Software Failsafes and Geofences
Before uploading your code or flight plan, you must configure robust failsafe triggers within your chosen app or SDK. Most professional platforms allow you to define specific behaviors for “edge cases.” For example, what should the drone do if the data link is lost mid-mission? Smart Return-to-Home (RTH) and automated landing sequences should always be baked into your mission parameters to prevent a flyaway.
- Battery Thresholds: Set your mission to automatically abort when the battery reaches 30% to ensure a safe margin for the return trip.
- Geofencing: Use virtual “hard walls” to ensure the drone cannot exit a designated safe zone, regardless of what the programmed path dictates.
- Obstacle Avoidance Sensors: Ensure your hardware sensors are active and calibrated to override programmed paths if an unexpected object enters the flight path.
Adhering to Remote ID and Local Laws
In the eyes of aviation authorities like the FAA or EASA, the “Pilot in Command” is always responsible for the aircraft. Even if you are running a fully automated Python script, you must maintain Visual Line of Sight (VLOS) unless you have a specific waiver for Beyond Visual Line of Sight (BVLOS) operations. Furthermore, ensure your drone is equipped with a Remote ID broadcast module, which is now a standard requirement for most programmed commercial operations to ensure the flight is identifiable by authorities.
Final Thoughts on Mastering Drone Autonomy
Moving from manual flight to programmed flight paths is a significant leap that opens doors to advanced mapping, cinematic precision, and efficient data collection. By leveraging the right combination of mobile apps, powerful SDKs, and high-precision hardware, you can transform a standard drone into a highly efficient autonomous tool. Remember that technology is a supplement to, not a replacement for, pilot expertise. Always prioritize safety and regulatory compliance to ensure your missions are as professional as they are automated.
Next Steps: Start by experimenting with a user-friendly app like Litchi to understand waypoint logic in a controlled environment. Once comfortable, consider exploring the DJI SDK or MAVSDK if you want to write custom code for specialized tasks. Ready to elevate your missions? Invest in a high-quality tablet and an RTK module to ensure your programmed paths are executed with the highest possible accuracy!
💬 Quick Questions & Answers
What is the easiest way to program a flight path?
Use a mission planning app like Litchi or DJI GS Pro for a visual waypoint interface.
Which programming language is best for drones?
Python is the most popular choice due to libraries like DroneKit and its compatibility with MAVLink.
Can I program a DJI drone to fly autonomously?
Yes, you can use the DJI Mobile SDK or third-party apps that utilize the DJI SDK framework.
What hardware is needed for autonomous paths?
You need a flight controller with a high-accuracy GPS, a telemetry link, and a compatible ground station.
Is a constant remote connection required?
Most programmed missions upload to the flight controller, allowing the drone to finish the path if the RC signal drops.
❓ Frequently Asked Questions
What are the primary differences between Litchi and DJI SDK for path planning?
Litchi is a ready-to-use application designed for photographers to set visual waypoints without any coding required. In contrast, the DJI SDK is a development framework that allows engineers to write custom code for complex tasks like object tracking or specialized data collection.
Do I need an internet connection to run a programmed flight path?
While you need internet to download maps during the planning phase, most apps allow you to cache maps or upload the mission directly to the drone’s memory. Once the mission is uploaded to the flight controller, the drone relies on GPS, not the internet, to navigate.
How does MAVLink facilitate drone programming?
MAVLink is a lightweight messaging protocol used to communicate between a Ground Control Station and the drone’s flight controller. It is the industry standard for open-source systems like ArduPilot and PX4, enabling commands for waypoints, mission parameters, and telemetry.
Can I program gimbal movements into a flight path?
Yes, most advanced mission planners allow you to set specific gimbal pitch and yaw actions at each waypoint. This ensures the camera is focused on a specific point of interest or follows a smooth transition throughout the automated route.
What is the role of a Ground Control Station (GCS) in flight programming?
A Ground Control Station is the software interface, running on a tablet or PC, used to plan and monitor the mission. It sends the coordinate data to the drone and receives real-time telemetry updates to ensure the drone is following the programmed path correctly.
Are there simulators available to test my drone code?
Yes, tools like SITL (Software In The Loop) or Gazebo allow you to run your code in a virtual environment with physics engines. This is a critical safety step for developers to prevent hardware crashes caused by logical errors in the flight path script.

Similar Posts